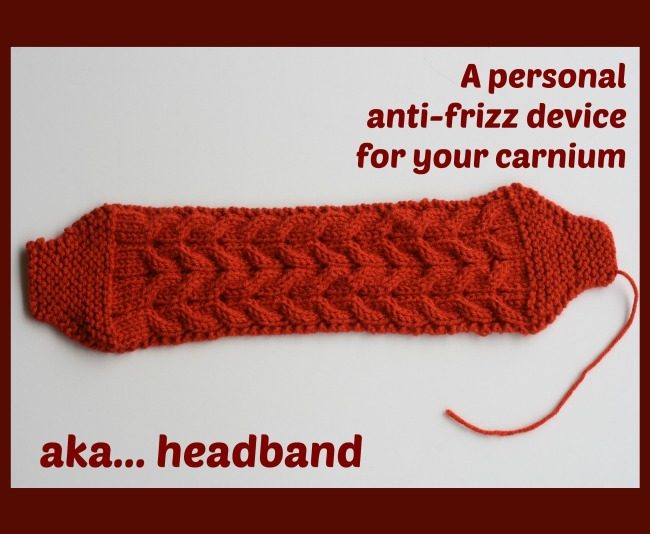
Right now, at this very moment, the humidity in my corner of the universe is 90%. On an average day, my hair is pretty frizzy. Today? Today the frizz I am experiencing defies the laws of physics.

But this happens to me a lot. Also I knit a lot. (You may have noticed that.) Therefore I have many anti-frizz devices at the ready. As it just so happens, I finished my latest anti-frizz device yesterday. How fortuitous!

Other people might call my personalized, cranium-fitting, anti-frizz device a cabled headband. Those people have no imagination. They probably don’t have a thesaurus that they read for funsies either.
Here is a closer look at the personalized, cranium-fitting, anti-frizz device cabled headband:

If at first glance those look like some wicked complicated cables then feel free to take a closer look:

Its actually four cables. Four, quite simple cables with a single purl stitch in between. I like making simple things which look complicated almost as much as I like reading my thesaurus.
So if you too find yourself, or a loved one, with alarmingly expanding hair frizz, here is how you can whip up a personalized, cranium-fitting, anti-frizz device cabled headband pretty quickly:
Fortification – a knit headband
Stuff you’ll need:
- 25g of worsted weight yarn
- US size 8 (5mm) needles
- cable needle
Stitch key
- k – knit
- p – purl
- kfb – knit into both the front and back loops of the next stitch (an increase)
- ssk – slip the next two stitches knit-wise, then insert the left tip into the front of those slipped stitches and knit them together (a decrease)
- k2tog – knit the next two stitches together (a decrease)
- c2f – slip the next two stitches to a cable needle and hold them to the front of the work. Knit the next two stitches. Then knit the stitches from the cable needle
- cb2 – slip the next two stitches to a cable needle and hold them to the back of the work. Knit the next two stitches. Then knit the stitches from the cable needle
Cast On 9 stitches and knit 6 rows
The Increase
Row 1: k1, kfb, k until 2 stitches are left, kfb, k1
Row 2: k
Repeat Rows 1 & 2 until you have 23 stitches on the needle. Then start the cabled section.
Making Cables
Row 1 & 3 : k1, p1, *k4, p1* repeat until 1 stitch left, k1
Row 2, 4 & 6: k2, *p4, k1* repeat until 1 stitch left, k1
Row 5: k1, p1, *cf2, p1, cb2, p1* repeat until 1 stitch left, k1
Work Rows 1 – 6 a total of 11 times. Then work Rows 1 – 4 once more.
The Decrease
Row 1: k1, ssk, k until 3 stitches are left, k2tog, k1
Row 2: k
Repeat Rows 1 & 2 until you have 9 stitches on the needle. Then knit 6 more rows and bind off.
Sew the ends together and apply directly to cranium!


"There is no failure. Only feedback." - Robert Allen
17 Comments on "Fortification – a free knit pattern"
Thank you for the anti frizz headband. Love the design.
Happy to share!
Thanks Jenn for this lovely pattern which I will definitely knit. I’m wearing the knitted pattern of the Opra length gloves which I love.
Your Canuck friend
Canada huh? Brr! Knit fast my friend.
When I pulled up your post in my mailbox, I thought the title read
“Fornication……”, lol!
You have a dirty mind!
I like that about you. 🙂
Thank you for the cool headband pattern ❤ I love cables & how they’re like magic – they look so complicated & yet they’re easy as pie
Yeah cables are so much easier than they look. It kind of like cheating and I do love me a good cheat.
Carnium is a funner word than cranium?
Does c2f mean hold 2 stitches to the front?
Yep. Sorry for the confusion.